Ingredients
- Heavy whipping cream (1 cup)
- Powdered sugar (2-3 tablespoons, depending on your sweetness preference)
- Unflavored gelatin (1 teaspoon)
- Cold water (4 teaspoons)
Instructions
- Preparation of Gelatin:
- In a small bowl, sprinkle the gelatin over cold water. Let it sit for about 5 minutes. This process is known as ‘blooming’ the gelatin.
- After the gelatin has bloomed, melt it gently. This can be done in a microwave for about 10 seconds or over a double boiler. Ensure it turns to liquid but is not hot.
- Chilling Equipment:
- For best results, chill your mixing bowl and beaters in the freezer for about 15 minutes. This helps the cream whip up better.
- Whipping the Cream:
- Pour the heavy whipping cream into the chilled bowl. Start whipping at medium speed and gradually increase to high speed.
- As the cream starts to thicken, gradually add powdered sugar. Continue whipping until the cream forms soft peaks.
- Adding Gelatin:
- With the mixer running, slowly drizzle the melted gelatin into the whipped cream. The gelatin should be liquid but cool to the touch.
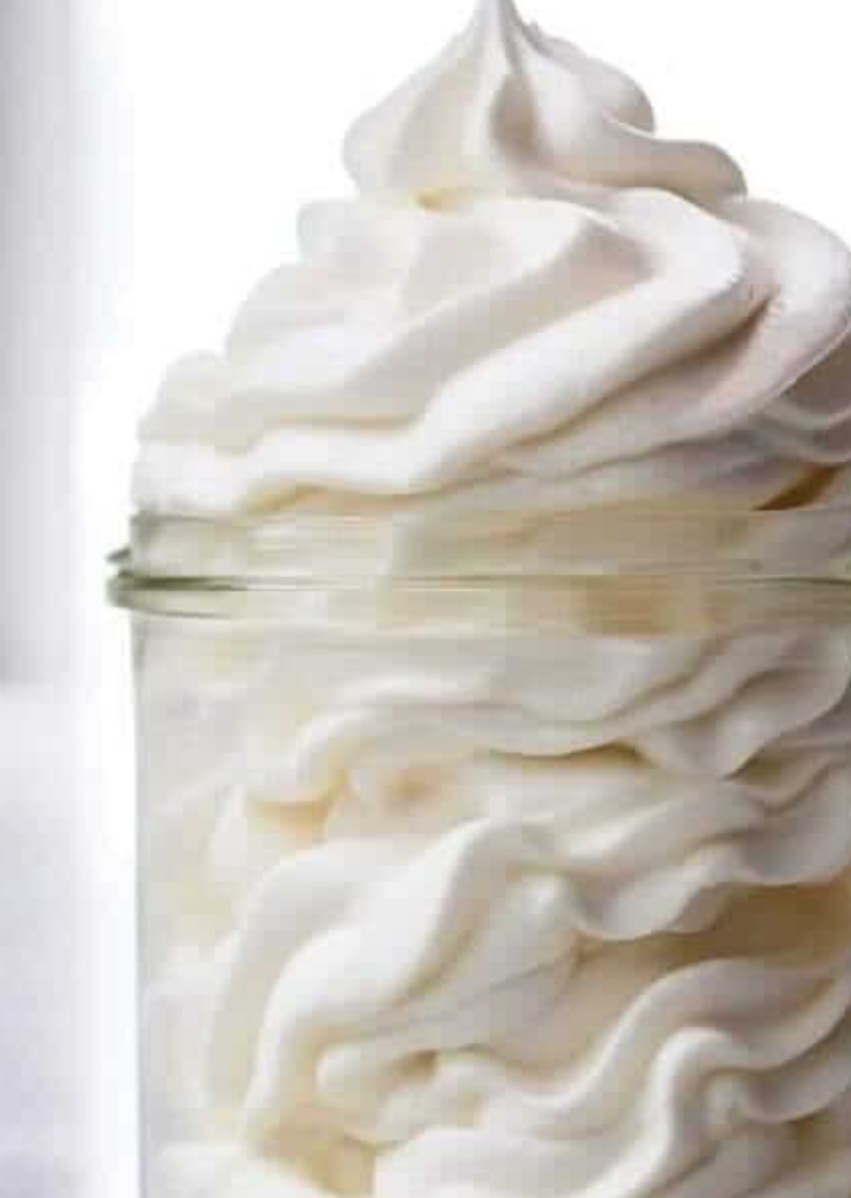
- Continue to whip until the cream forms stiff peaks. Be careful not to overbeat, as the cream can become grainy and butter-like.
- Usage and Storage:
- The stabilized whipped cream can now be used immediately for frosting cakes, piping decorations, or as a topping for desserts.
- It can be refrigerated for a few hours before use, and it will hold its shape for several days, unlike regular whipped cream.
Flavor Variations:
- You can add vanilla extract, cocoa powder, or other flavorings along with the powdered sugar to customize the taste of your stabilized whipped cream.
This recipe creates a whipped cream that is perfect for decorating cakes or topping desserts for occasions where the whipped cream needs to hold its shape for a longer time. Enjoy the enhanced texture and stability that this recipe brings to your culinary creations!
Enjoy!